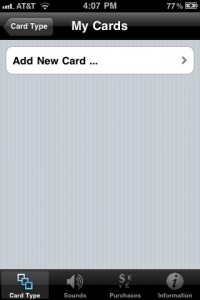
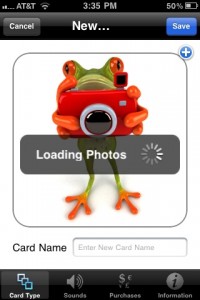
 Using your own photos on the cards is very straighforward and a great feature that can be purchased using the My Photos In-App Purchase. Once purchased, you will see the My Cards setting panel shown here where you can add, remove, or edit the cards in your collection. When you play a game, the photos that you select will be used on the cards. If there are more cards in a game than the number of photo cards that you’ve created, the game will fill the extra cards with frog images.
Adding a New Card
 Tap Add New Card and the new card panel appears. It automatically accesses your photo library so that you can select a photo. You can pick any photo in your library at any orientation. You’ll have the opportunity to adjust the photo to fit the card perfectly. The photo is copied to the card and your original photo is never affected.
Adjust the Photo

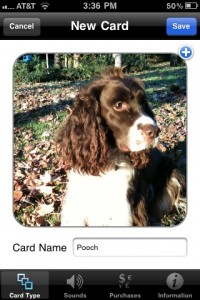
 Once you’ve selected the photo, it’s time to position it and name the card. You can pinch to zoom into the photo and drag to pan it so that it is positioned exactly where you want it. Type a card name into the box and then you can save with the Save button. If you want to change the photo, tap the small blue “+” button in the corner to be taken back to your library.
Edit or Remove a Card
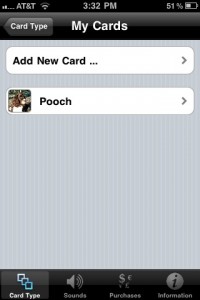
 Once you’ve added cards, the My Cards panel will show the list of cards as shown here. You can add more cards the same way as before. If you tap the card, you’ll be taken to the editor where you can change the photo. To remove a card, swipe your finger side to side on the card to be deleted.
Delete a Card
 When you use the side-to-side swipe gesture, you’ll see a small Delete button appear on the card as shown here. If you didn’t want to delete it, just tap anywhere other than the Delete button and that button will disappear. Tap the Delete button and the card will be removed. The original photo in your library is never affected.
Next: Sound (Audio) Settings
